Attaching a special photo on clothing is a fantastic way to create personalized items. You can make an exclusive gift. In addition, you can also create your own line of products. The two ways to do this mainly are: you can do it by yourself or you can use a professional service.

This tutorial will direct you to the most suitable method for your needs. We will discuss the expense and the quality. Additionally, we will examine how much time it is going to take.
Which Photo Printing Method is Right for You? A Quick Guide
Our task here is to find the starting point for you. Your decision about it will depend on your budget and the number of shirts you want. You also have to take into consideration the quality.
This table provides you with help in making the decision. It tells you whether DIY or professional is the best comparison. It is your companion every time you want to print a photo on clothing.
Comparison Table: DIY vs. Professional Photo Printing
| Factor | DIY Methods (e.g., Iron-On) | Professional Methods (e.g., DTG) |
|---|---|---|
| Best For | One-off projects, gifts, crafting fun. | High-quality gifts, clothing brands, large orders. |
| Cost per Item | Low ($5-$15). | Moderate to High ($20-$40 for one), but cheaper in bulk. |
| Durability | Fair. Lasts 10-20 washes with care. | Good to Excellent. Can last the life of the shirt. |
| Quality/Detail | Good. Can be less sharp than pro methods. | Excellent. Captures fine details and many colors. |
| Equipment Needed | Home inkjet printer, iron, transfer paper. | None. The service has all the equipment. |
| Turnaround Time | Fast (1-2 hours). | Slower (A few days to a few weeks). |
The Most Important Step: Getting Your Photo Ready
Getting a great print starts with a great photo file. A blurry or dark photo will not look good on a shirt.
Take a few minutes to prepare your image. This is the most important step. It will help you avoid common problems. You will get a result you love. Getting your image ready is key to print a photo on clothing well.
Resolution is King: Aim for 300 DPI
Resolution means how much detail is in your photo. We measure it in DPI. That stands for Dots Per Inch. The more dots you have the sharper the printed image becomes.
A standard resolution of 300 DPI is required for high-quality printing. A photo from social media might look fine on your phone screen. But when you make it bigger for a shirt, it can become blurry.
Always use the original photo. Use the highest-quality one you have.
Picking the Right File Type: PNG vs. JPEG

The file type of your photo also matters.
A PNG file is best for images with a clear background. Say you want just a person’s face on a shirt. You don’t want a background square. Use a PNG. PNG files can have see-through parts.
A JPEG file is great for standard rectangle photos. If you want the whole photo, use a JPEG. Background and all, a JPEG works perfectly.
Quick Editing Tips for a Better Print
You do not need to be a photo expert. You can make small fixes. Most phones and computers have simple editing tools.
Try making the photo a little brighter. Add some contrast too. This makes the photo “pop.” It helps it show up well on fabric. You can also find free online tools. These can remove the background from a photo if you need to.
Color Mode Check: RGB vs. CMYK
This part is a bit more technical. But it’s good to know. Your screen shows colors using RGB. That stands for Red, Green, Blue. Printers use CMYK ink to create colors. CMYK means Cyan, Magenta, Yellow, Black.
Sometimes, colors can look a bit different on the shirt. This happens because of this difference. Don’t worry too much. Most professional print services handle this change for you. It’s just helpful to know why colors might look different. A bright blue on screen might look a little different on fabric.
DIY Methods: How to Print a Photo on Clothing at Home
If you want to try printing at home, try the iron-on method. It is the most popular. It is fast and cheap. You can get good results with a little care.
This method is a great way to start. Use it if you want to print a photo on a shirt for a special event.
Method 1: The Classic Iron-On Transfer Paper
Iron-on paper is a classic go-to choice for DIY projects. You can find it at most craft stores. You can also buy it online.

What You’ll Need:
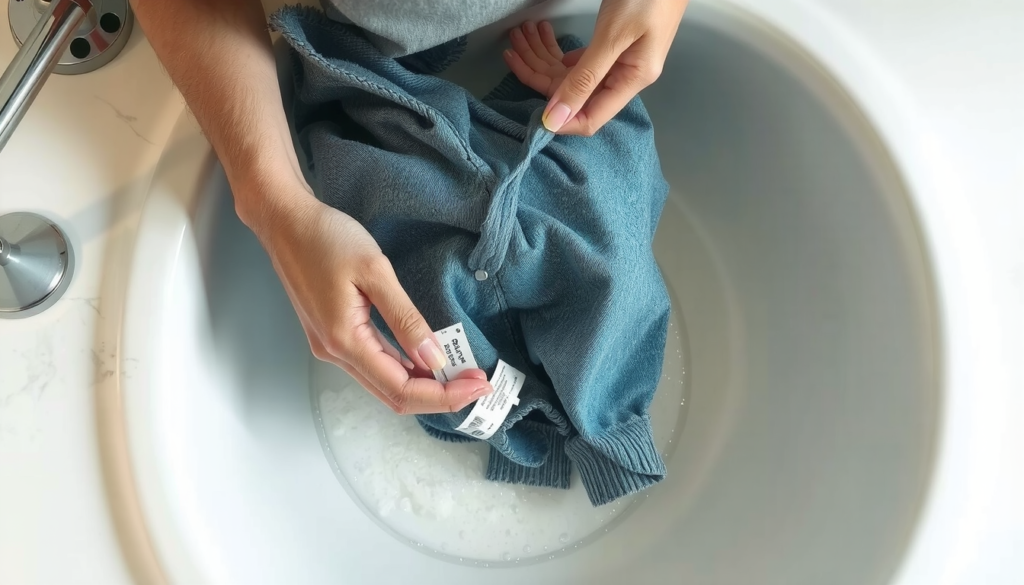
* A T-shirt (pre-washed, no fabric softener)
* An inkjet printer
* Iron-on transfer paper (get the right kind for light or dark fabric)
* A household iron (no steam)
* Parchment paper (often included with the transfer paper)
* A hard, flat surface (not an ironing board)
Step-by-Step Instructions:
1. Open your photo on your computer. If it has text, you must mirror the image. Flip it sideways.
2. Print the flipped image onto the shiny side of the transfer paper. Let the ink dry all the way.
3. Pre-iron your T-shirt. Get all wrinkles and moisture out.
4. Place the transfer paper with the image facing down onto the shirt.
5. Press down firmly with a hot iron. Follow the instructions on the paper. Check how long and how hot. Keep the iron moving.
6. Let the transfer cool down all the way. This is very important.
7. Once it is cool to the touch, slowly peel the backing paper off.
Tips & Common Mistakes to Avoid
We’ve learned a few things the hard way. You don’t have to. Here are some common mistakes to watch out for.
A very common mistake is forgetting to mirror the image. Any text or logos will be backward on the final shirt. You must flip the image first.
Another issue is using the wrong paper. Paper for light shirts is see-through. If you use it on a dark shirt, the photo won’t show up. Paper for dark shirts has a white background.
Finally, do not peel the backing paper off while it is still warm. If you peel it too soon, the image can crack. It can also lift off the fabric. Be patient.
Professional Methods: For a Long-Lasting, High-Quality Finish
For the best quality, use professional printing. You get better detail and it lasts longer. These methods are perfect for starting a brand. They are also great for making a gift that will last for years.
Learning how to print a photo on clothing with these methods will help you pick the right service.
Direct-to-Garment (DTG) Printing
DTG printing works like a giant inkjet printer for clothes. It sprays water-based ink right onto the fabric. The ink soaks in.
It is best for very detailed, colorful photos. It works best on 100% cotton shirts. Many online services that use high-quality digital printing use DTG for single shirt orders. The print feels soft and breathes well.
Screen Printing

Screen printing pushes ink through a mesh screen onto the clothing. For a photo, this needs multiple screens for different colors.
This method is best for large orders of the same design. Usually 24 or more items. It saves a lot of money for bulk printing. It is less ideal for a single, full-color photo. But it’s great for stylized photos with fewer colors.
For businesses looking at larger volumes, learning about screen printing is key. It helps manage costs and quality.
Sublimation Printing
Sublimation is a special process. Heat turns the ink into a gas. The gas then bonds with the fabric fibers. The ink becomes part of the shirt itself.
This method creates prints that will never crack, peel, or fade. It works only on light-colored, 100% polyester clothing. It’s perfect for all-over prints on athletic wear. The print has no feel at all.
A Note on Advanced Techniques
Some techniques are not used for photo-realistic prints. But puff printing can be combined with other methods. This adds amazing texture to your designs. You can learn more in our ultimate guide to puff screen printing.
Working with a Clothing Manufacturer
For brands or large-scale projects, work directly with a full-service clothing manufacturer. This gives you access to all these technologies. You also get expert guidance. They can help you choose the best method to print a photo on clothing for your specific product line.
Don’t Forget the Canvas: Picking the Right Clothing & Fabric
The clothing you print on is just as important as the print method. The right fabric can make your photo look amazing. The wrong fabric can lead to a faded or stiff design.
Fabric Matters
- 100% Cotton: This is the best choice for DTG printing. It is soft and breathable. The ink holds well.
- Polyester & Blends: This fabric is required for sublimation printing. It can work with other methods. But the colors might look different.
- Fabric Color: Printing a photo on dark fabric often needs a white layer of ink printed first. This is called an underbase. It makes colors bright but can add to the cost. It can also make the print feel thicker.
FAQ: Your Questions Answered on Printing a Photo on Clothing
Here are answers to some common questions. People ask these about how to print a photo on clothing.
1. What is the most durable way to print a photo on a shirt?
Sublimation on a polyester shirt is the most durable. The ink becomes a permanent part of the fabric. It will not fade or crack. For cotton shirts, a high-quality DTG print is very durable. It will last for many washes with proper care.
2. Can I print a photo on a black t-shirt?
Yes, you can. Professional methods like DTG and screen printing work great on black shirts. They also work on other dark shirts. For a DIY project, you must buy iron-on transfer paper made for dark fabrics. This paper has a white backing you can’t see through.
3. How much does it cost to put a picture on a shirt?
The cost changes a lot based on the method. A DIY iron-on shirt might cost less than $15 for materials. A single, professionally printed DTG shirt usually costs between $20 and $40. For big orders using screen printing, the price per shirt drops a lot.
4. Can I use a regular home printer to print on transfer paper?
Yes, most iron-on transfer papers work with standard inkjet printers. These are the ones you have at home. Always check the instructions on the paper’s package to be sure. There is also paper for laser printers. But it is less common for home use.
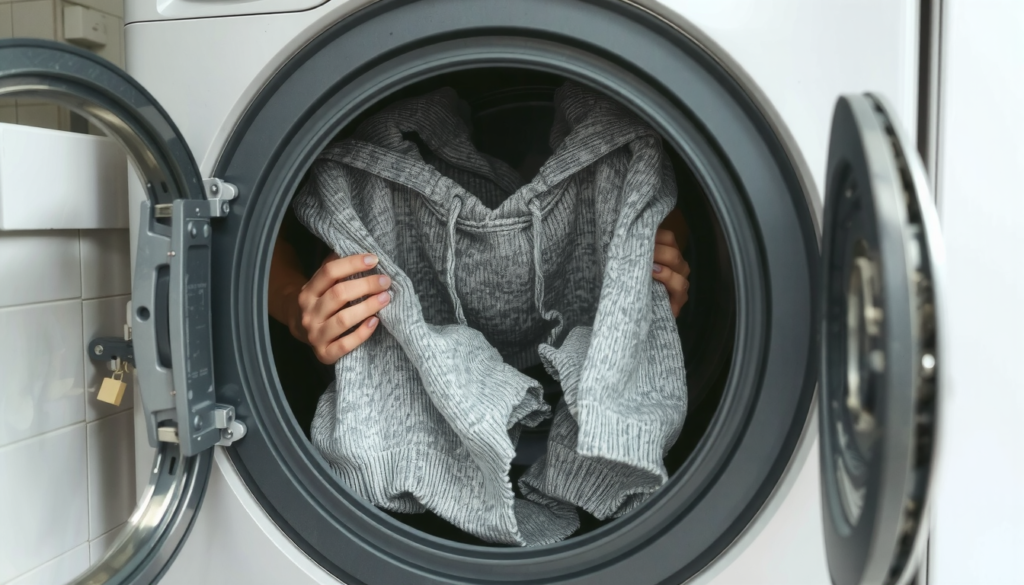
5. How should I wash a shirt with a photo printed on it?
To make the print last as long as possible, turn the shirt inside out before washing. Use cold water and a gentle wash cycle. It is best to hang the shirt to dry. You can also tumble dry on the lowest heat setting. Never use an iron directly on the printed area. Professional and DIY methods often require similar care to ensure the design stays bright.