The digital world is a great platform for clothing brands to grow and on this journey expect some challenges to be handled along the way. You already have your vision and designs ready. To realize this vision and start a company, you will need a great website. A website is like your digital store. It provides the home for your brand and acts as your best sales tool.

Building an effective clothing brand website follows three basic steps. First, get the brand materials ready. Second, choose the right online store platform. Third, create the pages and features you need. This tutorial will help you through each of the three processes.
The online fashion commerce market is anticipated to grow to $1.2 trillion in 2025. The inclusion of a strong website is not a luxury anymore; it has become a necessity. Let’s start!
Step 1: The Digital Base of Your Brand
Initial preparation is the first step before you select your website-building tool. This step is not just a part of the procedure; it is the most important part of everything. It creates a professional image for your brand, and at the same time, it makes work much easier. The manuals that skip this step are misleading. It is the hidden recipe for a successful beginning.
Be Clear on Your Brand Identity
The way customers see you and how they remember you is your brand identity. It is the visual and emotional impressions people get of your business.
Focus first on your logo, colors, and fonts, which will be the first impression with a personality of your brand. Would you rather be dark and edgy? Or minimalist and sleek? Are you a luxury brand? Or do you care more about comfort and sustainability? Choose one first. This brand identity will help you with everything you put on your website.
Own Your Product Photos
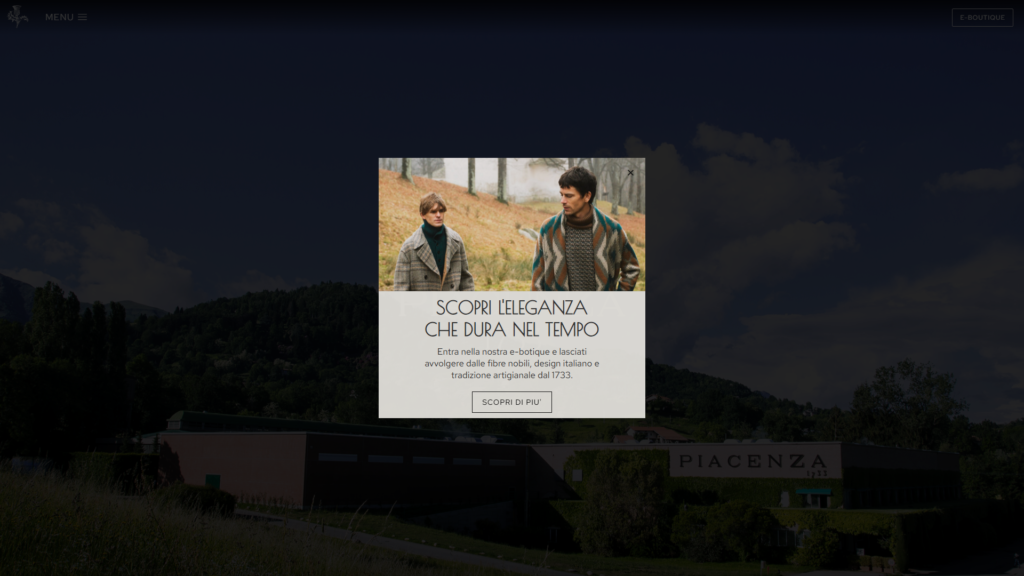
For a clothing brand, it is all about high quality pictures. Customers can´t touch or try on your clothes. Therefore, your pictures have to be convincing. It should be a clear representation of the quality, fit, and style.
You must have high-quality images that show off your products. Shaky or dimly lighted shots will repel customers. Organize a photo shoot for each piece of clothing you sell.
In order to be consistent, create a “Must-Have Shot List” for each product:
* On-model photo (of the front, back, and side views)
* Detailed flat lay (the item laid flat on a surface)
* Close-up of the fabric texture
* A lifestyle shot (the item being worn in a real setting)
Write Unique Product Descriptions
Your product descriptions are like your online sales reps. They don’t just list the facts. They tell a story. They help clients visualize themselves in those clothes.

Talk about the feel of the fabric. Describe the fit and how it looks on the body. Use more than just “100% cotton.”
Every product should always have these points:
* Materials used (like organic cotton or polyester blend)
* Clear washing and care instructions
* A detailed size guide with specific measurements
Phase 2: Selecting Your Platform
Once you have your brand materials in hand, it’s time to decide where you’ll build your website. This step is vital. The platform you choose will either facilitate your growth or create problems. The best way to go is to find a platform that matches your requirements.
Platform Considerations for Clothing Brands
Consider the various platforms based on what matters the most for when you’re selling clothes.
- Ease of Use vs. Customization: Can you build and manage it easily? And how much of it can you change to reflect your brand?
- Pricing: What are the costs associated with using the monthly plan and transaction fees? Transaction fees are amounts that will be deducted from each sale.
- Scalability: Can this platform accommodate your growth from 10 sales to 1,000 per month?
- Inventory Management: This is important. The platform must quickly and easily take care of a variety of sizes, colors, and stock levels for each specific product.
Fashion Platform Comparison
Here is a comparison of the most popular e-commerce platforms. This will be the best guide to helping you create the website for your clothing brand.
| Platform | Best For | Price Range (Monthly) | Ease of Use | Key Clothing-Specific Features |
|---|---|---|---|---|
| Shopify | Companies that are serious about growth and sales. The industry standard. | $30 – $300+ | Very Easy | Best inventory for sizes/colors, enormous app store for marketing, excellent sales analytics. |
| Squarespace | Brands that concentrate on beautiful design and striking visuals. | $25 – $50 | Very Easy | Award-winning templates, lookbook galleries, strong blogging features for brand storytelling. |
| Wix | Small companies and newcomers wishing for total design freedom. | $25 – $60 | Easiest | Truly drag-and-drop editor, wide assortment of templates, incorporated marketing tools. |
| WooCommerce | Brands who desire total command and are already utilizing WordPress. | Free (but needs paid hosting, ~$15+/mo) | Moderate | Completely customizable, no transaction fees, integrates with your existing WordPress site. |
Phase 3: Your Guide To Building Step By Step
Now that you have the brand materials ready and have selected the platform, it is time to build the fun part of your website. This part is a clear step, which will guide you on how to make a website for your clothing brand step by step.
Step 1: Get Your Domain Name

A domain name is like a website’s address (for example, ). Try to come up with a name that is short, easy to remember, and write. If this is possible, it should match the name of your brand. You may buy the domain from the platform you have picked or from a separate company.
Step 2: Pick and Customize Your Theme
A theme or template is an already designed website for your company. All platforms offer free and paid themes. Choose one that fits your brand. Look for clean layouts that display your product pictures topmost.
Think of mobile-first design. The larger share of your visitors will most probably try to shop on their mobile devices. Therefore, your website should look great and work well even on a small screen.
Step 3: Create the Crucial Pages
Every clothing website must-have pages that are key to building trust and to not miss sales.
- Homepage: This is your digital storefront. It should include your best products and current sales. Set clear navigation to your shop.
- About Us Page: This is where you give the story of your brand. Share your mission and what makes your clothing unique. This will help to build a bond with customers.
- Shop/Product Pages: This is where the sales come from. When you will be adding a product you will be creating product variants. For a t-shirt, for example, you would add an option called “Size” with values like “S, M, L, XL.” Then you would add another option for “Color” with values like “Black, White, Gray.” The system will create each combination. You will have to upload a specific photo for each color variant. This way customers will see exactly what they are choosing. You will also need to set the price and inventory count for each unique variant.
- Contact Page: Besides, you should include an email, a contact form as well as your social media handles. It is a plus to make it easy for people to contact you.
- FAQ Page: Here the common questions can be answered saving you time while at the same time building trust. This should include information on shipping, return, and size issues. A proper FAQ section can create a lasting brand image.
Step 4: Set Up Payments and Shipping
In order to sell, you need to be paid. Connect to a gateway. Mostly this will be Stripe (for credit cards) and Paypal. Payment linkages are quite trouble-free because most platforms simplify these.
Accomplish your shipping rules next. Clear the shipping destination first (whether your area only/or all over the map). You can set your shipping rates. Offer flat rates, free shipping over a certain amount, or real-time carrier rates.
Step 5: Test Everything and Then Launch
Before you go on and announce your website to the world, do a final review check. Do a test order yourself. Go through the entire process from adding a product to the cart to checking out.
Ensure the payment is processed correctly. Also, be sure to get an order confirmation email. Click all the links on your site. View the site both from a desktop computer and from a mobile phone. When every function is perfect, you can go ahead and launch.

Beyond the Launch: A Growth Checklist
Launching your site is just the beginning. The real work starts now. Use this simple checklist to gain momentum in your first 30 days. This plan helps turn your new website into a real business.
Your Post-Launch Action Plan
- Week 1: Announce & Analyze. Share your new website on all your social media channels. Install Google Analytics and Facebook Pixel on your site. This tracking tool is free to use and shows how many visitors come to your site and their movement on the site.
- Week 2: Gather Feedback. Send an email to your first few customers and ask them to drop a review. Run a query on whether they had any questions. If you find that they had the same question multiple times, add it on your FAQ page.
- Week 3: Content & SEO. Publish your blog post, “The Story Behind Our First Collection”. This will help your customers feel more connected to your brand. It will also help your site with search engine rankings. You should Optimize the Website for SEO so that over time you can attract new customers.
- Week 4: Plan Your Next Move. Use Google Analytics data to your advantage. What products are getting the most impressions? Where are site visitors coming from? Use this information to plan your social media ad campaign.
Sustain the Foundation: Where You Source Your Products
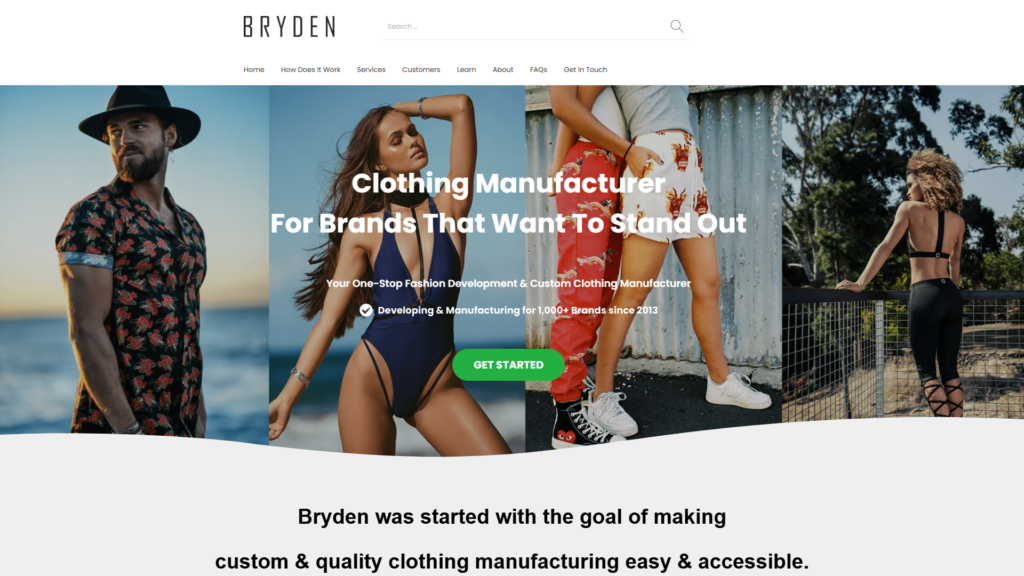
An amazing website can only be maintained by the products you sell. Fostering a trustworthy production partner is of great significance in order to have a clothing line that is built sustainably. Knowledge of the manufacturing world is critical whether you are starting or in the process of scaling. This is a crucial element in knowing how to drive the success of a clothing brand website long-term.
For new entrepreneurs, Clothing Manufacturer LTD is the website that offers a variety of resources.
To find dependable suppliers, the Top 15 Garment Manufacturers in the World is a curated list you can check. You can also opt for geographical areas and a Top 15 Clothing Manufacturers in China guide.
Most Popular Questions (FAQ)
How do I create a website for my clothing brand and how much does it cost?
Costs may differ. Using a site builder like Shopify or Wix charges generally between $30 and $100 per month. A fully customized site developed by a web developer can cost you multiple thousands of dollars. You will need to set aside some money for your domain name (which costs roughly $15 per year) and any premium themes or apps you may want.
Should coding knowledge be a prerequisite for building a clothing website?
No, it should not. In fact, today all modern e-commerce platforms like Shopify, Wix, and Squarespace are built for people with little or no coding skills. They use simple drag-and-drop editors and pre-made templates. This allows you to build a professional site without writing any code.
Which website builder is the top choice for small clothing brands?
According to many, the best option for serious online stores is Shopify. This is due to the powerful sales and inventory tools that it has. Yet, for smaller brands concentrating on aesthetics and ease of use, Squarespace and Wix are viable options. The best choice primarily depends on your budget and personal goals.
How do I manage products with multiple sizes and colors online?
Most big e-commerce platforms will have a product variant feature. Such a setup for adding a new product can be creating the options “Size” and “Color.” For each option, provide the different choices, like “S, M, L” for size or “Red, Blue, Green” for color. You can further add a different price, inventory number, and photo for each one.
How can I take top-notch pictures for my website if I am on a budget?
If you own a relatively new smartphone, you can take excellent photos even without a budget. Good natural light is the only key to great pictures. Position yourself near a big window for your shoots. Use a plain, neutral background, such as a white wall, or poster board. Focus on ensuring the images are sharp and clear. Use free photo editing software to alter brightness and crop your photos for a more professional finish.