Transforming a plain piece of fabric into a custom artwork is just incredible. With this ability, you can create something exceptional. For instance, whether you are making a uniquely designed pillow or you are planning to start your own clothing label, learning how to print on cloth not only is alchemical but opens a plethora of possibilities. Just like Textile printing has been the metamorphosis from ancient to cutting-edge technologies, this craft also has its own journey. In ancient times, it was block printing that was the way to go, and now digital technology is supreme.
The information you need is here. We will start with the most accessible methods you can try at home. Then we will discover techniques that are only implemented in the industry. You will understand how they relate and receive expert advice to ensure perfect finishes.

Fabric Printing at Home: A Step-by-Step DIY Guide
Want to give your fabrics the private touch without spending a lot? Printing them at home is the best option. To take this approach to DIY, you only need an inkjet printer, the one that you already have in your house.
Method 1: The Inkjet Printer & Freezer Paper Method
This is a pretty simple way to get your homemaker printer to print fabric. First, you stick a freezer paper to cloth thus creating a stiff paper. Then this paper can be fed by the printer—the same way that a normal paper would travel through the printer. Hence you can print on the fabric straight away. You can use it for labels, patches, or art pieces.
Materials You’ll Need
- Inkjet printer (laser printers won’t work because heat melts the freezer paper’s plastic coating)
- Light-colored, 100% cotton or canvas fabric
- Freezer paper (the type with plastic or waxy coating on one side)
- Iron and ironing board
- Scissors or rotary cutter and mat
- Your digital design, ready to print
Step-by-Step Instructions
-
Prepare and Cut Your Fabric and Freezer Paper. Cut both to the same size. Standard 8.5″ x 11″ letter size works best for most printers. Make sure your fabric is smooth and wrinkle-free.
-
Iron the Freezer Paper onto the Fabric. Put the freezer paper shiny-side-down on the back of your fabric. Use a hot, dry iron with no steam. Press firmly onto the cloth. Getting a smooth bond is crucial. Iron from the center outward to remove air bubbles. This creates one stiff sheet.
-
Set Printer Properties. Go to your computer settings for printing and make the best selection. Choose “Best Photo” or “High-Quality” print mode. For paper type, use “Glossy Photo Paper” or “Premium Glossy.” This will tell the printer to output more ink which you could use to get prettier colors.
-
Print Your Design. Feed your fabric-paper sheet into the printer. Make sure it prints on the fabric side. Not sure which side? Test with a marked piece of regular paper first. Then print your design.
-
Let the Ink Dry. After this, the ink has to set for about an hour or overnight which gives the best results. Gently peel off the freezer paper. Do it carefully because to make your design bleed-free, you have to cure the ink. First, put a clean cloth over the design and then heat it with a hot dry iron for 2-3 minutes. Do you want to know more? Watch films like this from The Graphics Fairy.
Pros and Cons of DIY Methods
The freezer paper method is a freaking piece of cake. You can hardly find one that is cheaper than this, especially if you are looking for props to customize just once. Just sit at your desk and go ahead.
However, it does have its drawbacks. One major issue is the inability to execute this on multiple units. Colors may fade after many washes. Only when used on light-colored fabrics will this method provide better results.

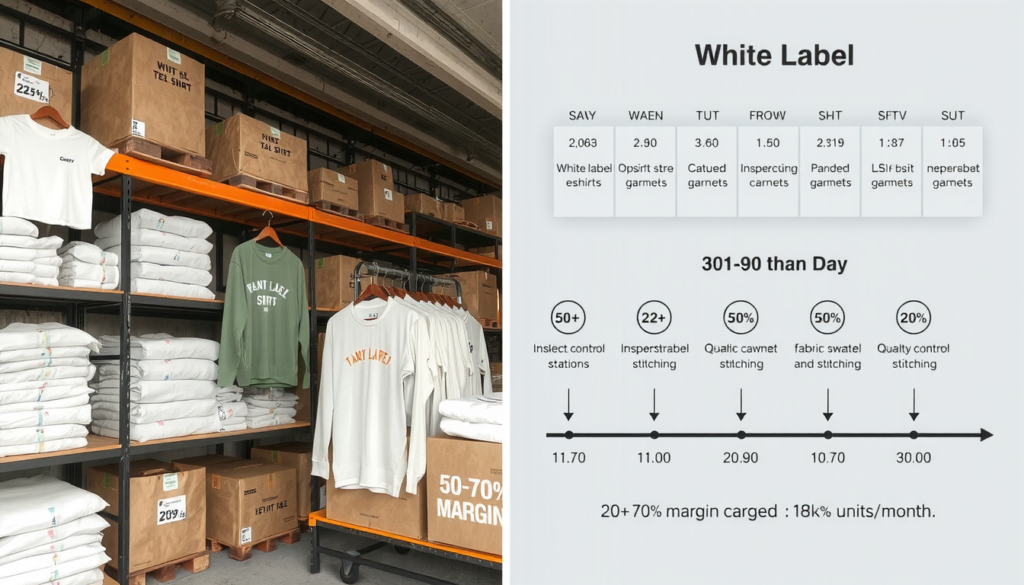
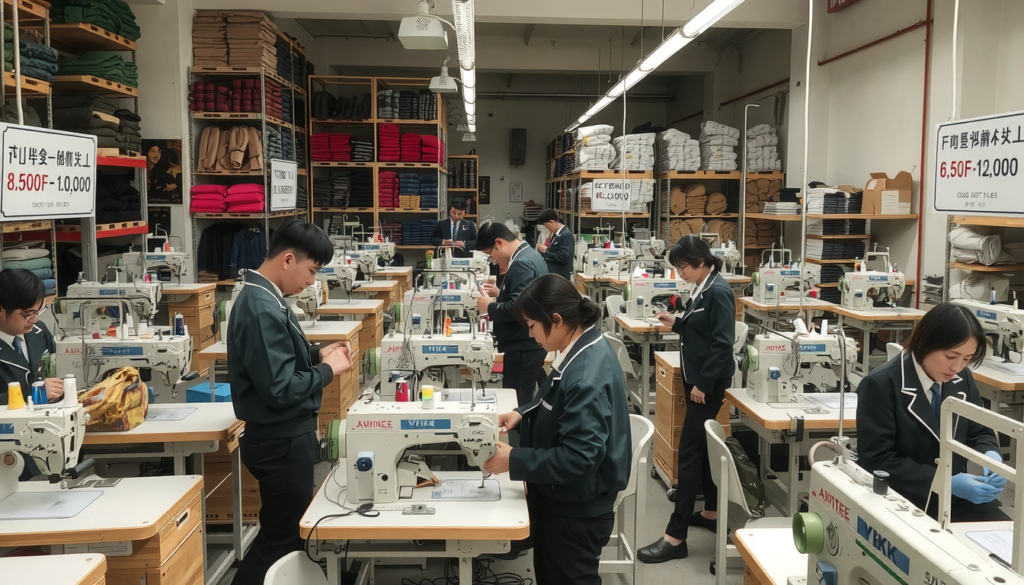
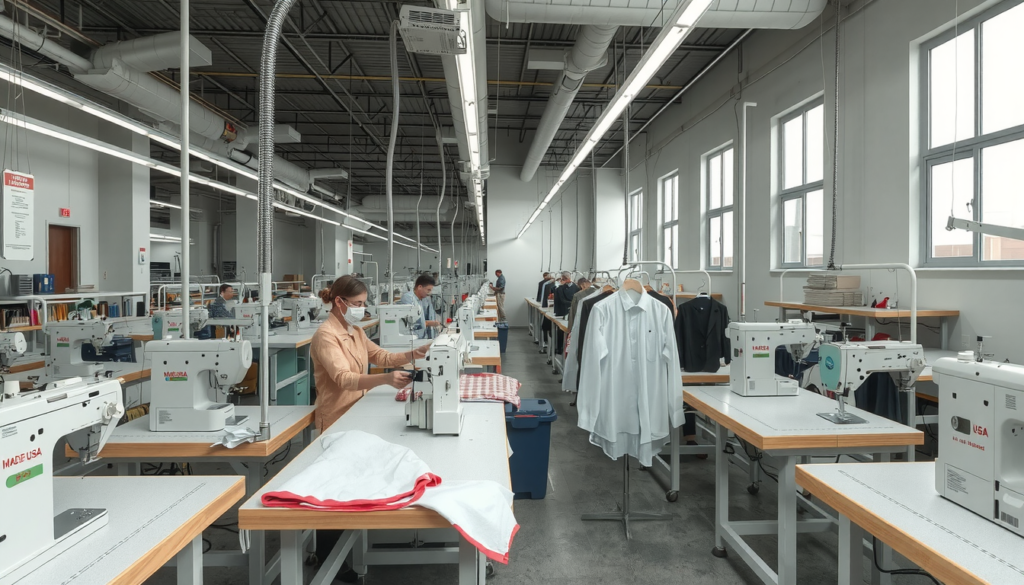
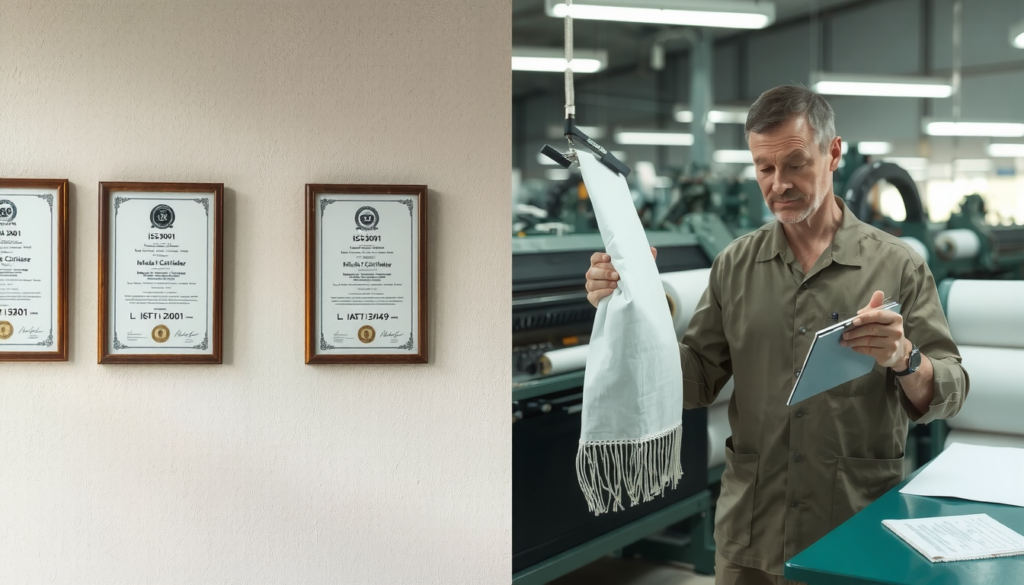
Professional Methods to Print onto Cloth
If you need strength, scale, and best quality, then professional printing techniques are the solution. Even if you want to start a clothing line or make textile products, the awareness of main textile printing processes is a must. This will help you cooperate with the suppliers and opt for the favorable procedure.
Screen Printing
Screen printing is old and one of the most sought-after methods. A liquid ink is pressed through a transparent cellulose printing mesh directly on to the material. Each color requires a different screen. They are stacked one on top of the other.
In this case, it is for large runs of the same design. For instance, concert t-shirts or company uniforms would be a good fit. This technology is particularly good for simple artwork and a limited number of colors. The effects will mostly be bright and rich on dark clothes. This option proves to be the best for printing onto cloth in bulk mainly because of the low setup cost per unit distributed over a large scale. Need more details? Find the information in our full guide about screen printing.
Direct-to-Garment (DTG)
Direct-to-Garment is like a huge inkjet printer that is for textiles. The printer deposits water-based inks directly on the fabric that are occluded by the fibers.
DTG printing is the best for pictures and other complex illustrations stated in full color. In the last decade, it has become more popular, and now it is the mainstay of print-on-demand because of the low overhead. The finish is super soft and works great for small batches or single items.
Dye Sublimation
With this technique, the ink and the fabric become one. When you heat a special solid ink, it turns to gas. This gas gets into the fibers and cements them together. That is the reason why the design is permanently attached to the fabric.
You will not find a technique that is better than this for all-over garment prints. It is the most favored method for making sportswear, leggings, and swimwear. The print becomes part of the fabric, so there are no feelings left on it. This garment will not crack, peel, or fade either. The only catch is that it works only on polyester or poly-blend fabrics.
Heat Transfer Vinyl (HTV)
HTV consists of cutting designs from colored vinyl sheets using a plotter, then placing the cut design on the garment and applying it with a professional heat press.
HTV is a technology for playful, easy texts and logos. You can make it more personal by putting names and numbers on sports pants. It is also the most suitable method for unusual finishes like glitter, metallic, holographic, or flock textures.
Comparison: Which Printing Method is Right for You?
Printing on cloth is most convenient depending on several factors like order size, choice of fabric, and customer goals. Our table points out key aspects to help you in making a decision on the wiring method.
| Feature | Screen Printing | Direct-to-Garment (DTG) | Dye Sublimation | Heat Transfer Vinyl (HTV) |
|---|---|---|---|---|
| Best For | Bulk orders (50+), simple designs | Complex, full-color designs, small orders | All-over prints, polyester sportswear | Bold graphics, names/numbers, logos |
| Durability | Very high, long-lasting | Good, but can fade with many washes | Excellent, permanent, no cracking/peeling | Good, but can crack or peel over time |
| Feel on Fabric | Can feel thick (layer of ink on top) | Very soft (ink soaks into fibers) | No feel (ink becomes part of the fiber) | Noticeable layer on top of fabric |
| Fabric Type | Versatile (cotton, blends, polyester) | Best on 100% cotton | Polyester & poly-blends only | Versatile (cotton, polyester, blends) |
| Cost | Low per-item cost at high volume | Moderate for single items, expensive for bulk | Moderate to high | Low for single items, not scalable |
Beyond the Basics: Specialty Printing & Key Considerations

Once you get the main methods, you can decide on other kinds too. These aspects will contribute to the quality of your product.
Exploring Specialty Prints: Puff Printing
Puff printing is a special kind of screen printing. It uses ink that has a certain additive. When the ink is heated, this additive evaporates or expands. The produced print sticks out from the fabric and forms a 3D texture.
It can be found wherever there is a need for visual impact along with perception like on hoodies and streetwear. A great puff print can bring a mere figure to a new level. It gives a premium, retro feel. You can find out more in our Ultimate Puff Screen Printing Guide or choose a specialized puff print hoodie manufacturer.
Why Fabric Choice Matters
The choice of material is just as crucial as the type of printing process. Different fibers have different ink and heat reactions.
- Cotton: Highly absorbent and stable, making it a very good canvas for DTG and traditional screen printing.
- Polyester: This plastic does not take water-based inks too well, although it has the most excellent structure for dye sublimation.
- Blends: 50/50 cotton-poly fabrics are among the most customizable. They are a good choice for some printing methods since they can produce a former “vintage” or faded appearance.

Caring for Your Printed Cloth
Taking care of printed garments is the right way to ensure a longer life for the clothing. You should follow these utility rules:
- When washing your garment inside out you will protect the print’s surface.
- Use cold water and a gentle cycle.
- Tumble dry on low heat or hang to dry for best results.
- Never iron directly on the printed design.
Conclusion: From Idea to Printed Cloth
Printing on cloth can be completed by any method that is in line with the project needs. For example, you can base your choice on design complexity, fabric type, and order volume, apart from budget. Whether you opt for DIY and start small or become professional, the knowledge you have will give you the wings to move on.
For the next apparel line that you want to have the best professional outcomes, choose a qualified manufacturer. Reach us at Clothing Manufacturer Ltd if you wish to chat about your project.
Frequently Asked Questions (FAQ)
1. What is the most durable method to print on cloth?
Dye sublimation is the most durable of the printing methods when using polyester fabrics. Since the ink becomes part of the fabric it is impossible to crack or peel. The longer-lasting and the best one for the cotton and many other ready-made clothes is high-quality screen printing. This is the reference for the fashion and clothing industries.
2. Can I use a regular printer to print onto cloth?
Yes, but only with a standard-format inkjet printer for your DIY projects. As for laser printers, they are boxed out. You can choose either freezer paper which allows manual feeding of cloth or printable fabric sheets that fit into the printer just like normal paper does. You can expect the best results when using them as crafts but not on a commercial scale.
3. How do I print a photo onto a t-shirt?
For best quality and most accurate colors, DTG (Direct to Garment) printing is the go-to option. With this method, it is much easier to print out soft-feel t-shirts full of images, like photographs of entire posters with no details lost. Or you could go to DIY using a special inkjet iron-on transfer paper.
4. Will the ink wash out of my printed fabric?
If you have done the printing correctly, the ink should be permanent. It is paramount for all methods of printing, DIY, and professional, to apply the heat setting before the design is finished. This allows an iron (DIY) or tunnel dryer/heat press (professional) to cure the ink. Both ways bond it to fabric fibers so that it can survive washing.
5. What’s the difference between screen printing and DTG?
Screen printing and DTG are dissimilar in the ways that they are applied and what it is best for. The first one is a stencil application (screen frame) of ink layered on. This method mainly is cheap for scale runs of basic graphics without any extras. However, DTG is digital and it sprays ink on the fabric like a printer does on paper. So it is a good solution for more complicated multi-colors in smaller quantities or single items.