Introduction: Making Your Ideas Come True

Creating custom printed clothing is a great way to express your personality. You can design your own clothes for your brand, event, or individual style. It may seem difficult, but this procedure is simpler than you think.
This manual will assist you in every operation. We will discuss everything from your initial idea to the finished product. You will discover how to determine the appropriate printing method. You will learn how to develop your designs, and look for the best supplier. Let’s join together in the process of realizing your ideas in fabric.
Step 1: Project Planning and Planning Your Custom Clothing Project
Before you embark on your journey, you must first plan your project. Answering a few key questions first will save you time and cost. A definite plan strengthens your decision-making concerning your custom clothing.
Here is a checklist to help you visualize all your requirements.
What is the objective?
Consider your reason for needing the clothes. Are they for a personal gift? Are you making staff uniforms or buying for sale items for your brand? Maybe it’s a fun giveaway for an event. The objective will direct your quality and design decisions.
What is the quantity?
How many items do you require? It can be a single t-shirt, a small batch of 25, or a big order of 500+. The quantity is the most crucial aspect in determining the best printing method and cost each item.
What is your budget?
Choose the amount of money you want to spend. Are you seeking premium, retail-level clothing? Or do you need a budget option for large distribution? The budget will dictate the kinds of clothing and the printing processes that can be utilized.
What is your delivery period?
When will you delegate the work? Some projects require a rush job while others have a typical turnaround time. It helps you and your printing partner plan well if you know the deadline.

Step 2: Selecting the Correct Printing Method
The subsequent step involves selecting the most suitable printing method. The right method for your custom printed clothing will depend on your design, quantity, and budget. Each technique has its pros and cons.
Glimpse into Common Techniques
The most widely-used techniques are Screen Printing, Direct-to-Garment (DTG), Heat Transfer, and Embroidery. Each one of them generates a distinct look and feel. A brief understanding of them contributes to better choices.
Comparison of Printing Methods
There is an advantage of matching the right method to the project, as evidenced by the various projects we have seen do well. The table below illustrates the fundamental differences which will aid you in making an informed decision.
| Printing Method | Best For | Durability | Cost (per item) | Minimum Quantity |
|---|---|---|---|---|
| Screen Printing | Large orders (25+), simple designs with few colors. | Very High | Low in bulk | Usually 12-24+ |
| DTG (Direct-to-Garment) | Small orders, complex multi-color designs, photos. | High | Moderate-High | None |
| Heat Transfer | Simple graphics, names, numbers on jerseys. | Medium | Moderate | None |
| Embroidery | Logos on hats, polos, jackets for a premium look. | Very High | High | Varies |
For larger orders, professional screen printing is your best shot for great quality and value. DTG is made for a single detailed shirt. Heat transfer is preferable for team uniforms. Adding embroidery is a classic touch that gives the clothes a professional feel.
Specialty Printing: What Puff Printing Can Do for You
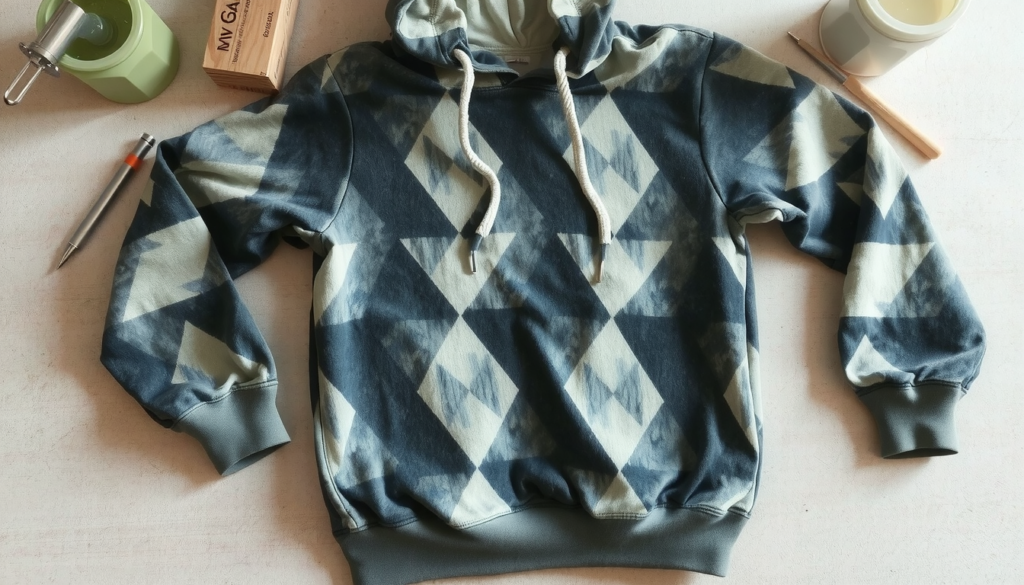
If you want your design to be different? Specialty printing can provide you with special features that will make your product signature. A good example is puff printing. It is the technique that uses a special ink that expands with heat. As a result, a layer of text or a picture emerges in 3D.
It is usually used on bold, simple text or graphic elements. It creates a texture that literally pops off the fabric. We have found that the best designs are the simple thick ones. They hide the puff effect, which is to the advantage of the designer. For those who want to be unique, ink techniques such as puff printing will provide the 3D look. To find out more read The Ultimate Guide to Puff Screen Printing. You can also visit a puff print hoodie manufacturer to see it in action.
Step 3: To Print in An Art-Ready Design
A brilliant idea requires a perfect design file in order to transform into a high-quality print. Many of our clients have given hilarious ideas, but because of simple problems such as file errors, they did not get the desired prints. This practical guide provides you with techniques for the preparation of your artwork without problems.

Getting the Right Resolution
The resolution of your picture must be good. This is referred to as DPI or Dots Per Inch. The standard for printing is 300 DPI. A low-resolution file will look blurry and pixelated when printed. 72 DPI is typical for web images, but this is a low value. Start by always using a high-resolution file for a clean and clear print.
Vector vs Raster
There are two kinds of files: vector and raster.
* Raster images are made of pixels, which are tiny dots. Photos are raster images like JPEG and PNG. They lose quality if you make them bigger.
* A vector is a file format used to describe objects using mathematical equations instead of pixels. Logos are often vector files like AI, EPS, and PDF. You can scale them to any size without losing quality. This works from a pin to a billboard.
Suitable Formats
The one that works best depends on the printing method. PNG with a transparent background is a must for DTG. This way, only your design is printed without the white box around it. A vector file, such as an AI, a PDF, or an EPS is preferable for screen printing.
Knowledge About Color modes
Your computer screen is RGB light to show colors. RGB stands for Red, Green, and Blue. Printers, on the other hand, use CMYK ink to produce colors. CMYK stands for Cyan, Magenta, Yellow, Black. Your design file should be in CMYK mode for the most accurate color results. Your printer can convert it, but doing it yourself allows more control.
Still, No Design?
If design is your weak spot, there is no need to fear. You can always consider a freelance on websites like Upwork or Fiverr for hiring. If you are looking for simple things for your design, consider platforms where it is free like Canva. Platforms like Printful offer built-in design tools, which make it easy for anyone to create personalized clothes.
Step 4: POD vs. Bulk Manufacturer
Upon the completion of the design phase, the next step is to get a partner for your custom printed clothing. There are two main options available -Print-on-Demand (POD) or a bulk manufacturer. It mainly depends on your business model and goals.
The Print-on-Demand (POD) Model
POD is a service that prints and ships the products one after the other, depending on the orders placed. You will have their services connected to your store, then they do everything else.
- Pros: There is no upfront cost for inventory. It’s excellent for testing new designs. Furthermore, it is convenient for creators who don’t want to manage stock. You can easily provide a large selection of products.
- Cons: The per-item cost tends to be higher meaning profit margins will be lower. You have less control over the print quality and shipping times. For example, the customization options are often only the print itself.

Leading POD services like Printify have you set up easily through their network of printers.
Working with a Bulk Clothing Manufacturer
This is classic. You buy a certain quantity of the custom clothes in advance. Our expertise is this approach since it is the most controlled and effective path for growing brands.
- Pros: Lower costs per item means better profits. You control the garment quality, the print, and the details fully. You can also add custom tags, labels, and use specialty printing techniques.
- Cons: This route involves high upfront expenditure. Also, you will have to keep your own stock and take care of the shipping.
For brands, firms, and events seeking the best quality and price at scale, direct partnership with a clothing manufacturer is the ideal solution.
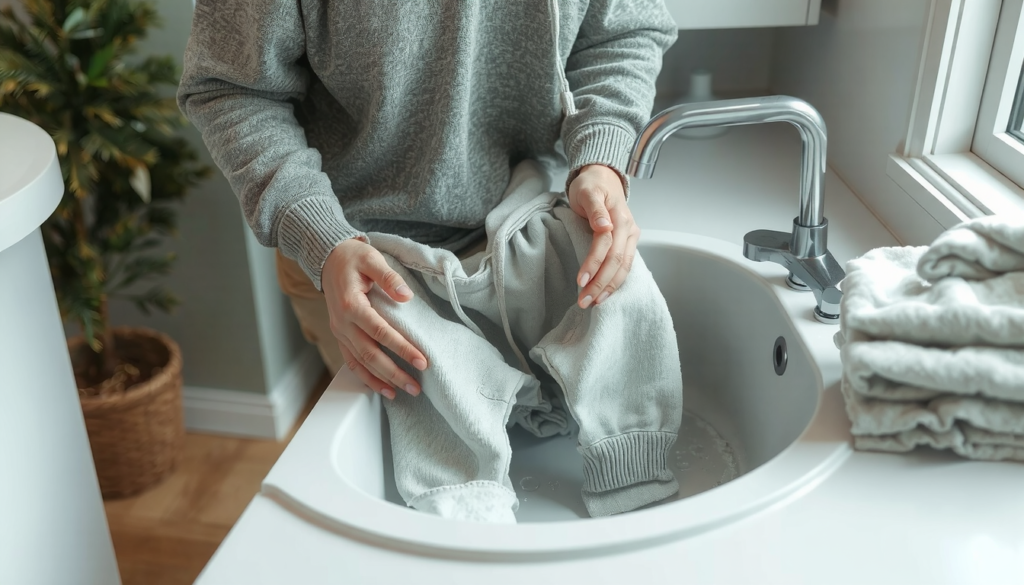
Step 5: Caring for Your Custom Clothes
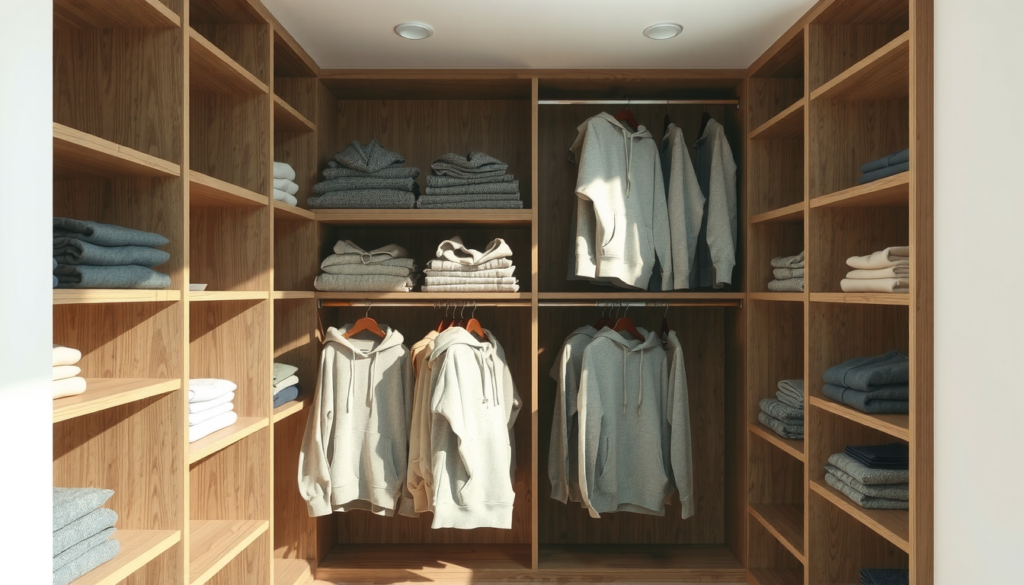
Your finished product of custom printed clothing will now require care for the print to remain bright and vibrant for a long time. Simple care is the key to a long life for your clothes.
Steps to Maintaining Bright Prints
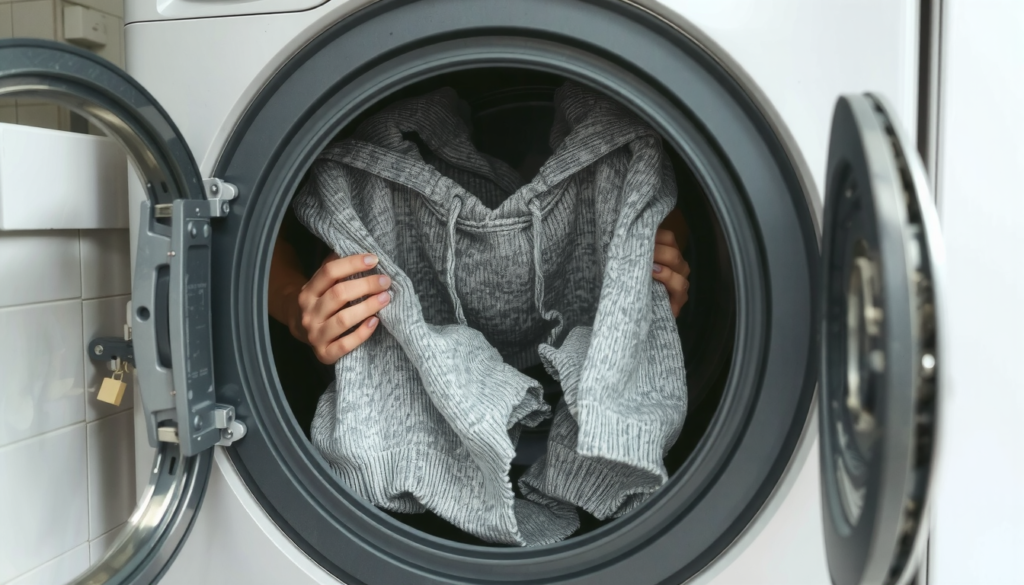
To maintain your custom clothes, just follow these easy washing instructions.
* Wash the garment inside out.
* Use cold water and a gentle wash cycle.
* Bleach and harsh detergents should be avoided.
* Tumble dry on a low heat setting or hang it to dry.
* Don’t ever iron on the printed design.
Conclusion: Continue Your Journey
The process of making your own custom printed clothing lies between the easy and the tough. Under proper knowledge and a clear plan, any idea can be realized as clothes. The steps to define your project are now at your disposal. You can make a print choice, prepare your design, and find a suitable partner.
Your journey with the custom clothing starts now. Commence with confidence. Would you like to begin your bulk order? Get in touch with our professionals at Clothing Manufacturer Ltd today.
Frequently Asked Questions (FAQ)
1. What is the best method for printing just one t-shirt?
If you want to create one customized t-shirt with a full color design, the best option is to use Direct-to-Garment (DTG) printing. This method has no minimum order quantity. Moreover, it accurately reproduces even the finest details in photographic images.
2. How much does custom printed clothing cost?
The price can differ sharply. The cost will be determined by factors such as the method of printing, garment quality, quantity of the order, and complexity of the design. A single DTG shirt may cost around $20 to $30. On the other hand, bulk orders of screen-printed shirts can be as low as $5 to $10 each.
3. Which file format should I use for my design?
Best results can be achieved with a high-resolution PNG file with a transparent background for DTG printing. The resolution should be set to 300 DPI. For screen printing, a vector file is the best choice. Formats include Adobe Illustrator (.AI), .EPS, or .PDF. These can be resized without losing quality.
4. Can I provide my own clothes for printing?
Some local print shops may allow this, but most online services and manufacturers do not. Our clothes are tested to work well with our inks and machines. This ensures a consistent final product of high quality. Local custom apparel services might offer this, but it is always recommended to check their policy directly.
5. What is the main difference between screen printing and DTG?
The central difference is the way of using them. Screen printing is a method that pushes ink through a stencil. It is suitable and cost-effective for big orders with fewer colors. DTG is like a fabric inkjet printer. It is good for small orders or for complex designs like photographs with multiple colors.