Constructing a bomber jacket is a testimony to your skills. This piece combines freshness and classic fashion with functional learning. It suits ambitious sewers seeking such an experience. Have you thought about how to sew a bomber jacket? Well, you have the fuller guide here.
This guide takes you from fabric selection to the finished product. It includes selecting the right material, choosing the right pattern, putting the jacket together, and applying the right techniques for the professional touch. We have broken it down step-by-step to make the job easy and fun for you.
Before You Sew: Assembling Your Tools
Doing good prep work and gathering your tools categorize most of the sewing. Getting the right tools and materials first helps you avoid headaches later and also ensures that the construction goes smoothly. Use this checklist as your pre-flight check before starting your bomber jacket.

Choosing Your Bomber Jacket Pattern
The pattern is like a blueprint of your jacket. If you choose smartly, you will achieve your target.
- Indie vs. Commercial: Independent PDF patterns are poetic with their tutorials; they often are detailed with images and backing from the community. On the contrary, “Big 4” commercial patterns (Simplicity, McCall’s, etc.) come in handy but have fewer instructions.
- Draft Your Own: Adventurous sewers can draft a simple bomber pattern from a well-fitting t-shirt or sweatshirt. This gives you total control but requires solid pattern-making knowledge.
- Check the Skill Level: On the pattern envelope or description, try to find the skill level. Select “Intermediate” or “Confident Beginner” for the best experience.
The Ultimate Fabric & Notions Checklist
Your choice of fabric will tell your jacket the story. Notions, however, are the essential hardware that makes it work.
| Fabric Type | Best For | Sewing Tips |
|---|---|---|
| Wool Blends | Classic, traditional varsity look, warmth. | Use a Universal 80/12 needle. Press with steam and a press cloth. |
| Nylon/Satin | Authentic flight jacket style, lightweight sheen. | Use a Microtex/Sharp 70/10 needle. Pin within seam allowances to avoid holes. |
| Scuba Knit | Modern, structured, and sporty. | Use a Ballpoint/Stretch needle. A walking foot helps prevent stretching. |
| Denim/Twill | Durable, casual, and hard-wearing. | Use a Jeans 90/14 needle. Grade seams to reduce bulk. |
| Quilted Cotton | Cozy, unique texture, and ready-made warmth. | Lengthen your stitch slightly (3.0mm) to move over the bulk. |
Your lining fabric should feel like butter on the skin. Bemberg/cupro and acetate are the go-to types, while soft cotton flannel can be their friend in the cold.
For the characteristic ribbed trim get rib-knit which has excellent recovery. This is the ability of the material to return to its original shape after stretching. A high spandex or Lycra content is the best indicator of this quality. You can either look for pre-made tubular ribbing or purchase rib-knit fabric per yard.
Essential Notions:
- Separating Zipper: Choose either a metal or a strong plastic zipper that fits the specified pattern length.
- All-Purpose Polyester Thread: This is a good choice as it corresponds to most shell fabric strength.
- Lightweight Fusible Interfacing: This is a must-have for stabilizing the front facings at the point where the zipper attaches.
- Sewing Machine Needles: Keep a stock of Universal, Microtex, and Ballpoint needles to cover your fabric choices.
- Core Tools: Fabric scissors or rotary cutter, pins or sewing clips, seam ripper, and measuring tape.
The Main Event: How to Sew Your Bomber Jacket, Step-by-Step
Once you acquire materials, you can proceed with constructing your bomber. We will start by making the outer shell and lining separately, and then joining them. Always remember the golden rule of sewing: press every seam as you go.
Step 1: Prepping and Cutting Your Fabric
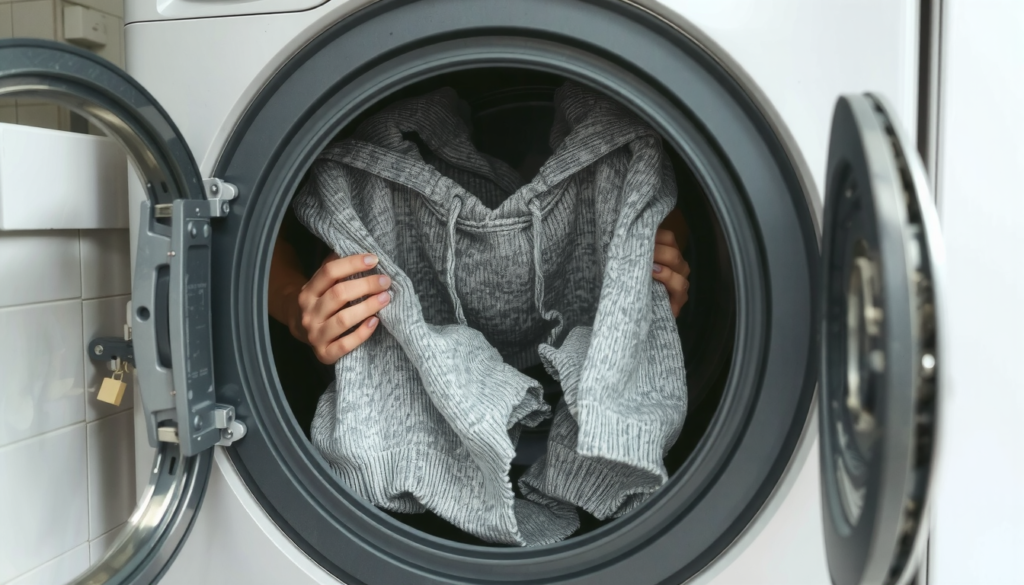
Start by pre-washing and drying your shell, lining, and ribbing fabrics. This will prevent any shrinkage after your jacket is completed.
Press your fabric smooth before laying out pattern pieces. Pay close attention to grainline markings on each piece. They should be parallel to the fabric’s selvage. Cut your shell and lining pieces precisely.
Last, but not least, transfer all pattern markings to your fabric pieces. This includes notches, dots, and pocket placements. Tailor’s chalk or disappearing ink pens work perfectly. This is a critical step for accurate assembly.

Step 2: Assembling the Outer Shell
We’re going to build the main part of the jacket from the start. This method follows a classic method for assembling the jacket body which is logical and efficient.
To start, put the front jacket pieces on top of the back piece with the right sides together. Pin and sew the shoulder seams. Press the seams open or toward the back.
Next, we will set in the sleeves. This is a key skill in learning how to sew a bomber jacket. Pin the sleeve head into the armscye (armhole opening), matching all notches. Use ease stitches (if your pattern includes them) to gently pull the sleeve cap fabric to fit the armscye curve. Don’t create puckers. Sew this seam carefully.
With sleeves in place, fold the jacket so front and back are right sides together again. Pin from the sleeve cuff all the way down the side seam to the hem. Sew this entire length in one continuous seam. Press. Your outer shell is now complete.
Step 3: Constructing the Lining
Follow the exact same assembly steps with your lining fabric pieces. Sew the shoulder seams, and the side seams.
There is a crucial difference, however: when sewing one of the lining’s sleeve seams, leave a 6-8 inch (15-20 cm) gap in the middle. This opening is essential for turning the jacket right-side-out later. Backstitch at the start and end of this opening to secure it.
Adding the Zipper & Ribbing
The zipper and the ribbing are what makes a bomber jacket a bomber. The right assembly is what makes an average jacket good and a good one, great. The knowledge needed to achieve that is what you get from this section.
Installing the Separating Zipper

We will apply the “zipper sandwich” method, which is the easiest and most professional way to do it. First, lay your outer shell right-side up. Place the open zipper, face-down, along one front edge. Adjust the top and bottom.
Position the lining/facing piece, right-side down, on top of the zipper. This way you create a sandwich with the zipper between the shell and lining. Pin every piece together well.
Using a zipper foot on your machine, stitch close to the zipper teeth. Repeat for the other side. Take care to ensure perfect zipper alignment when closed.
Attaching the Rib-Knit Trim
The key to perfect ribbing is even distribution. First, sew the collar, cuff, and hem band ribbing pieces into loops (if they aren’t already). Fold them in half lengthwise, wrong sides together.
Mark quarter points on both the ribbing loop and corresponding jacket opening (like the neckline) with pins. Match these quarter-point pins.
As you sew, gently stretch the ribbing between pins so it fits the jacket opening length. Don’t stretch the jacket fabric itself. This technique of stretching the ribbing slightly creates the signature gathered effect. Use a stretch stitch or narrow zigzag stitch to allow the seam to stretch with the ribbing.
Changing from Homemade to High-End: Pro-Level Finishing
These last steps will make your jacket go from a simple project to a dazzling, high-end, and handmade piece. It is in this moment that your project is transformed from one phase to another.
The ‘Bagging Out’ Technique

It’s a miracle. While the outer shell and lining are still wrong-side-out and attached at the zipper and neckline, sew the hem band at the bottom edge. Catch both the shell and lining layers.
Now you can pull through the gap you left in the lining sleeve. Grab the farthest tip of the jacket and pull the whole piece through that opening.
Your jacket will be turned right-side-out, and all the main seams will be beautifully enclosed. Press the whole jacket, then close the gap in the lining sleeve. You can either use machine topstitching or a neat invisible ladder stitch by hand.
Topstitching for a Crisp Finish
Topstitching not only adds durability but also gives a neat and distinct look to the garment. It is one of the hallmarks of quality construction.
Consider applying topstitching on both sides of the zipper, around the collar, and sometimes adding it to cuff and hem band seams. Use a slightly longer stitch length (3.0-3.5mm) and an edge-stitching foot for perfectly straight, even lines.
Troubleshooting Common Bomber Issues
- Problem: Wavy or stretched-out ribbing.
- Solution: Your machine tension may be too high and you may also be stretching the fabric as you sew. A walking foot will make both layers equal. Good steam pressing can also help shrink the ribbing into shape.
- Problem: Bulky seams.
- Solution: Grade your seam allowances, that is, trim seam allowance layers to different widths, reducing bulk. Also, clip any curved seams, like the neckline.
- Problem: Puckered zipper installation.
- Solution: Usually, this occurs due to lack of stabilization. Make sure that you fused the interfacing to the shell fabric located behind the zipper. Kindly pin or baste the zipper well before you sew to avoid any movement.
Your Finished Masterpiece
Well done! You had a go at a very challenging project and now you have successfully transformed fabric and thread into a very trendy, fitting, and wearable bomber jacket. You have progressed into not being only able to make simple projects but also into understanding the real process of garment construction.
Now that you have learnt how to sew a bomber jacket, you will definitely have a new perspective on building a garment. The understanding of how the single item goes to mass manufacturing is a great addition for those who want to up-cycle or get into the production of clothing. One can learn more about the professional side of the apparel industry at Clothing Manufacturer LTD.
Frequently Asked Questions about Sewing a Bomber Jacket
What is the best fabric for a beginner sewing a bomber jacket?
A stable, medium-weight woven fabric like cotton twill, denim, or corduroy is ideal. They’re easy to cut and sew and don’t slip around as much as satin or nylon. This makes them very forgiving for a first-time jacket project.
Can I sew a bomber jacket without a lining?
Yes, you can make an unlined version for a lighter, spring-weight garment. If you skip the lining, you’ll need to finish inside seams neatly since they’ll be visible. You can use a serger, flat-felled seams, or bind them with bias tape for a clean look.
How do I choose the right size pattern?
Always use your current body measurements (chest/bust, waist, hips) and compare them to the pattern’s size chart. Don’t use your ready-to-wear clothing size. Pay close attention to “finished garment measurements” to understand the amount of ease (room for movement and layering).
Do I really need to use interfacing?
Yes, for best results, interfacing is essential. It provides stability and structure to key areas like front facings where the zipper attaches and the collar stand. This prevents stretching and puckering, resulting in a much crisper, more professional finish.
My machine is skipping stitches on the ribbing. What should I do?
This is common when sewing knit fabrics on a regular machine. First, change to a new ballpoint or stretch needle. Its rounded tip pushes between knit fibers instead of piercing them. Also, guide the fabric rather than pulling it through the machine. Let the feed dogs do the work.


