A custom clothing label is a brand marketing product. It is more than just a small piece of clothing that mentions a size on it. It is like a signature from your brand. It emphasizes the quality and gives your product a professional look. This additional feature informs the customer about your image.

There are two main ways in which you can create your labels on your own. You can either make them yourself at home or you can order them from a professional service. Each method has its advantages.
This guide will assist you in determining which way is most appropriate for you. We will proceed to guide you on how to make custom clothing labels. For both DIY and professional methods, we will outline in a step-by-step manner.
The Most Important Decision: DIY vs. Professional
The very first step in your journey is to choose between the DIY option and the professional labels. Your decision is based on your budget, time, and the quality you seek. Making this decision at the outset will save you time and effort later.
Here is a straightforward comparison to help you make the best choice for your brand.
| Feature | DIY Labels | Professional Service |
|---|---|---|
| Cost Per Label | Low initial cost, but can be costly per unit. | Varies. Decreased price per unit at large quantities. |
| Quality & Durability | Varies. Good for amateurs, yet might disappear. | High. They can endure many washes. |
| Time & Effort | High. You take care of all design and production. | Low. You provide the design, and they do everything. |
| Customization | Limited by your tools and materials. | Almost endless options for materials and folds. |
| Minimum Quantity | As low as 1 label. | Varies, often starts at 50 or 100 labels. |
| Best For… | Hobbyists, prototypes, very small batches. | Small to large brands needing a polished look. |
The DIY Way: Making Labels at Home
In case you choose the DIY path, there are a few different methods that you can use. They are perfect for you if you want to start without a big investment. You will also get all artistic freedom possible over your project.
Method 1: Iron-On Transfer Paper
This is one of the simplest ways to begin. It is an easy beginner’s project. It needs common tools that you may have around the home.
Materials Required:
* An inkjet printer
* Fabric transfer paper (for light or dark fabric)
* Cotton ribbon or twill tape
* Scissors
* An iron
Step-by-Step Instructions:

- Design Your Label: Use a simple program like Canva or Microsoft Word. Create your logo or text.
- Print Your Design: Important! You must print a mirror image of your design. Your transfer paper package will have instructions. Always do a test print on regular paper first to check the size and look.
- Prepare Your Fabric: Cut your cotton ribbon or twill tape to the desired length for your labels.
- Iron the Transfer: Place the transfer paper image-down onto your ribbon. Press firmly with a hot, dry iron. Follow the paper’s directions.
- Cut and Finish: Let the transfer cool completely before you peel off the paper backing. This ensures a clean, crisp image. Once cool, cut your labels apart.
Method 2: Custom Ink Stamps
The craft stamp is a reusable and cute way to make labels. It adds to the rustic, handmade feelings of your products.
Materials Required:
* A custom-ordered rubber stamp with your logo
* A fabric ink pad (make sure it’s for textiles)
* Twill tape or light-colored cotton fabric
* An iron
Step-by-Step Instructions:
- Order Your Stamp: Design your logo and order a custom stamp online. Keep the design simple for the best results.
- Practice First: Before stamping your final labels, practice on a scrap piece of fabric. This helps you learn how much ink and pressure to use.
- Stamp Your Labels: Press the stamp firmly onto the ink pad. Then press it onto your ribbon or fabric. Work on a flat, hard surface.
- Heat-Set the Ink: Let the ink dry completely. Then, use a hot, dry iron to press over the design for about 30 seconds. This makes the ink permanent and washable.
A good tip for this method: stamps are great for branding. But they are not so good for information that needs to be changed, for example, sizes.
Method 3: Printing on Fabric Sheets
If you want a better label than that, you can just print them on the fabric. This method seems more professional than transfer paper. Some guides describe the process of having fabric custom printed. This gives you a great result.
You design a sheet filled with your repeating label design. Then, you use a service that prints your design onto a large piece of fabric.
Once you receive the printed fabric, you just need to cut the labels apart. In my own experience, it is important to finish the edges. You can fold the raw edges under and press them with an iron before sewing. Or, you can use a product called “fray check” to seal the edges. This prevents them from unraveling.
The Professional Way: Ordering Quality Labels
If you want a long-term display, a neat and polished look, or you are making a big batch, getting them from a professional is the best option. This way you will have labels that look professional and consistent with those made by big brands. Learning how to order custom clothing labels is the key step in growing your business.

Knowing Label Types
Your main option will be between two types: woven and printed.
- Woven Labels: Such labels are the standard of the industry because of their quality. Your logo is woven with threads together to make it. They are very sturdy and have a feeling of a premium product. Nevertheless, they can be very costly. They do not suit very complex, detailed graphics, however.
- Printed Labels: Your design will be printed on a material such as satin, cotton or polyester. So they are ideal for very detailed logos, which have lots of colors or gradients. Often they are softer than the woven ones. However, they may fade slightly after a lot of washing.
Services that offer professional woven labels also provide different fold options. These include center-fold for inserting into a seam or end-fold for sewing flat.
Key Information to Prepare
Before ordering, you need some information to have at hand. This will make the process easy and fast.
- Finalized Design: The company will require your design file. A vector file (like .AI or .EPS) is best.
- Dimensions: Know the label’s exact length and width in inches or millimeters.
- Fold Type: Decide if you want a center-fold, end-fold, miter-fold, or a simple flat label with no fold.
- Material & Colors: Choose your fabric (e.g., damask woven, satin printed) and your specific colors.
- Quantity: Decide how many labels you need. Most companies require a Minimum Order Quantity (MOQ).
Finding the Ideal Partner
There are many label makers online. Some are self-service, some offer full services. You can trust the one that meets your needs and fits your budget.
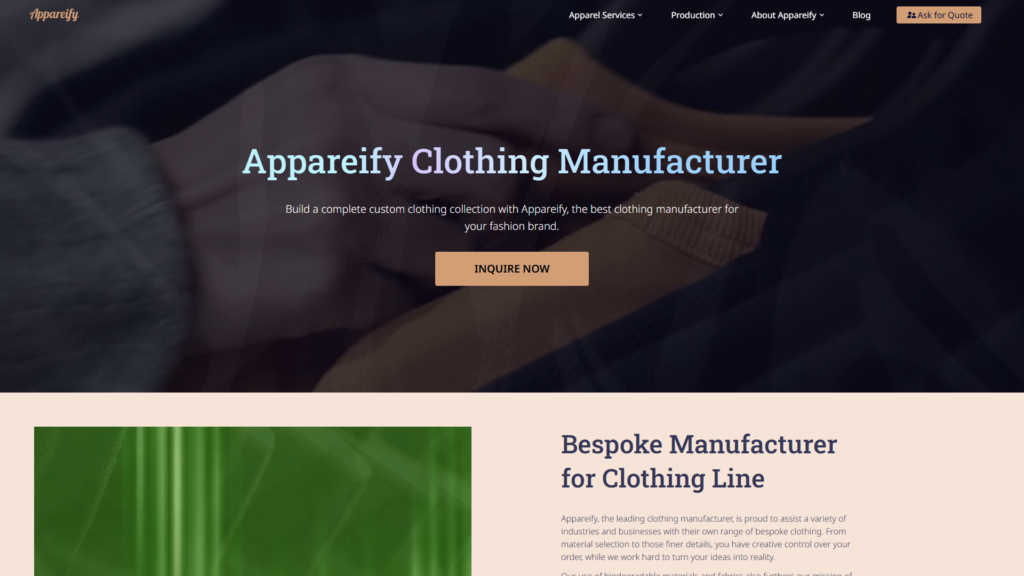
For brands aiming for expansion, there’s a possibility of cost-effectiveness through a full-service clothing maker. They can handle everything including producing the garments and creating and attaching your labels. In case you are looking for a comprehensive solution in manufacturing and branding, a service like Clothing Manufacturer Ltd. can be the right partner.
Master Design: Creating a Label that Stands Out
Great labels are easy to read and represent the brand correctly. Here are a few design tips to ensure that your custom clothing labels look fantastic.

Legibility is Key
Your customers should be able to read your label with ease.
- Font Style: Utilize clear and simple restrain fonts. Avoid using narrow, fancy scripts. They may be hard to read when small-size. A good rule of thumb is to prefer fonts of 8 points or larger.
- Color Contrast: Ensure that there is a strong contrast between your background color and the color of your text. This is why black text on a white background is so common.
Prioritizing Information
Make a decision on what is most important on your label.
The brand name or logo must be the first thing people notice. Secondary information can be smaller. Such descriptions include size, materials, and care instructions. Organize these elements in a way that the name of the brand will stand out.
File Formats for Error-Free Production
The file you send to your label maker is important.
- Raster vs. Vector: A vector file (.AI, .EPS, .SVG) is made of lines and curves. It can be sized to any scale without a loss in quality. A raster file (.JPG, .PNG) is pixel-based. Magnification can result in blurriness.
- Vector is the go-to: Always select a vector file for the best print results. This is the only way to ensure that the logo and text are perfectly sharp. While some services allow you to upload a JPG for custom fabric labels for clothing, a vector file will give you a better result.
The Takeaway: The High-Quality Touch
Whatever you are a crafter or you are a fashion brand that is growing, a custom label is just the right cherry on the sundae. It will add value and character to your creations.
We have walked through the two main approaches to producing custom clothing labels. The DIY route is the way to go, which is for creative minds and small-scale projects. The professional service provides exceptional quality and added convenience for ready-to-scale brands.
A good label should not just be a cost element, but rather an investment in the identity of your brand. You are now equipped with all the necessary bits of information to begin producing the type of custom clothing labels that will make your brand glitter.
Frequently Asked Questions (FAQ)
Which is the best material for clothing labels?
The choice of the material of clothing labels depends on the product. Woven polyester is the standard in durability and a premium look. Printed satin is very light. Thus it is the best choice for garments worn so close to the skin, like baby clothes. Cotton because of its natural look, is perfect for rustic and eco-friendly brands.
What information is legally required on a clothing label?
In the US, the FTC states that the majority of clothing items should have a label. The label should contain the fiber content, country of origin, and the manufacturer’s or brand’s identity. Care instructions are not a legal requirement to be on that label, yet they are a great help to your customers.
How do I attach my custom clothing labels?
Sewing is the most common and the strongest way. Labels can be flat-sewn on all sides or folded and pushed into a seam. A non-sew option is to order iron-on labels or use fabric glue. However, sewing will always be a strong option.
Can I make home-made durable labels?
Of all methods, professional woven labels are the champion if you want the most durable labels that can endure many washes. But DIY methods that use fabric ink and are heat-set correctly can also be fairly durable. However, they might fade over time quicker than the professional options.
What is the cost of making custom clothing labels?
DIY starts at low costs. A pack of iron-on transfer paper costs around $10-$15. On the other hand, professional labels cost more due to the setup fees and minimum order quantities. But the price per label can be really cheap at times, often lower than $0.50 each, if you order in bulks (100+ units).